


A no-nonsense guide to building a quiet, efficient home server — from your first Pi-hole to a proper Proxmox cluster. Written for the UK homelab community, with British electricity costs, UK GDPR considerations, and real-world advice.
What Is a Homelab and Why Use a Mini PC?
A homelab is simply your own private IT environment — services, storage and automation running on your own network rather than someone else’s cloud. Most people start with something modest: a DNS ad-blocker, perhaps, or a Home Assistant instance to control the smart lighting. Before long, you’ve added containers, virtual machines, proper backups and network segmentation. That spare box tucked behind the router has become genuine infrastructure.
A mini PC suits this progression nicely. It starts small and unobtrusive, yet modern hardware packs enough grunt for several concurrent VMs. Critically, it does so whilst remaining quiet enough to live in the lounge and efficient enough to leave running round the clock without wincing at the electricity bill.
Advantages of Mini PCs over Traditional Servers
The enterprise rack kit is designed for data centres, not for the airing cupboard. For a homelab in a typical British home, traditional servers bring several drawbacks:
- Excessive noise — high-RPM fans easily exceed 50 dB; forget sleeping next door.
- High power consumption — 80–200 W at idle translates to roughly £170–£430 per year at the current Ofgem-capped rate of ~24.5p/kWh.
- Bulky form factor — rack-mount or tower cases demand dedicated space that most UK homes simply don’t have.
- Hidden upgrade costs — second-hand eBay server kit often needs new SSDs, RAM and rail kits before it’s usable.
A mini PC sets different priorities. It works energy-efficiently, stays near-silent and takes up no more space than a hardback novel. Lower heat output means lower fan speeds, which means lower running costs. Most units ship ready to go — install Proxmox or your preferred Linux distribution and crack on.
Typical Homelab Use Cases
Background Services
- Pi-hole or AdGuard Home (DNS-level ad blocking)
- Vaultwarden (self-hosted password manager)
- Home Assistant (smart-home hub)
- Uptime Kuma (monitoring)
- WireGuard VPN (remote access)
Storage & Media
- Nextcloud (your own cloud drive)
- Jellyfin / Plex (media server)
- TrueNAS or OpenMediaVault
- Automated backups with Borgmatic
- MariaDB or PostgreSQL
Virtualisation & DevOps
- Proxmox VE cluster
- Kubernetes (K3s) playground
- CI/CD pipelines (Gitea + Drone)
- Network segmentation with VLANs
- Multi-OS testing (Windows, Linux)
A well-chosen mini PC can handle all three categories, provided it’s sensibly specified. The trick is not to start too small, but equally, not to over-spec for workloads you may never run.
Hardware Requirements for a Mini PC Homelab
In a homelab, no single benchmark matters. What counts is balance: CPU, RAM, storage and networking must work in concert. A bottleneck in any one area — say, insufficient memory or a sluggish network link — undermines an otherwise capable system.
CPU & RAM: Performance for Virtualisation
Virtualisation demands multiple cores and ample working memory. Proxmox VE uses KVM for full virtual machines and LXC for lightweight containers, so a solid multi-core processor that distributes load cleanly is more important than extreme single-thread performance.
For a beginner homelab, a modern 6- or 8-core CPU is generally sufficient. Once you’re running several VMs in parallel, additional cores pay dividends. Hardware virtualisation support (AMD-V or Intel VT-x) is standard on all current Intel and AMD platforms.
RAM is where the difference becomes most apparent. Containers are relatively frugal; full VMs are not. A single Windows VM can consume several gigabytes on its own. For most homelab scenarios, 32 GB represents a realistic and comfortably future-proof baseline.
RAM Recommendations by Scenario
| Usage Scenario | Typical Workloads | Recommended RAM |
|---|---|---|
| Entry-Level Setup | Home Assistant, Pi-hole, 5–10 containers | 16 GB |
| Home Lab Setup | Proxmox VE, 2–4 virtual machines, several containers | 32 GB |
| Advanced Virtualisation | Multiple virtual machines, database services, CI pipelines | 64 GB |
| High-Capacity Lab | Cluster environments, isolated test networks, multiple operating systems running concurrently | 64 GB+ |
Storage: NVMe, SATA and Expansion
Storage is critical in any homelab. VMs and containers generate substantial I/O, and backup volumes grow quickly. An NVMe SSD makes an excellent system drive, accelerating VM boots and updates. For data, a second drive is often sensible — keeping system and data volumes separate adds resilience and simplifies management.
If you plan to use TrueNAS or ZFS, bear in mind their additional RAM requirements; these file systems perform best with generous working memory.
Storage Planning Guide
| Component | Recommendation | Rationale |
|---|---|---|
| System Drive | 1 TB NVMe | Provides sufficient space for ISO files, container images, and VM templates |
| Data Drive | 1–2 TB NVMe or SATA SSD | Suitable for media libraries, Nextcloud data, backups, and databases |
| Backup Target | External NAS or USB drive | Keeps backups separate from the host system, reducing risk in the event of hardware failure |
Networking (2.5GbE) & Energy Efficiency for 24/7 Operation
In a homelab, the network carries far more than just internet traffic. Storage operations, VM communication and backups all traverse the LAN. A 2.5GbE port is well worth having if you regularly shift large volumes of data. Dual LAN ports go further still, enabling clean separation of management and storage traffic or proper VLAN segmentation.
For always-on operation, efficiency is paramount. Mini PCs have a clear advantage here, running on mobile-derived platforms optimised for low power draw. Less wattage means less heat, quieter fans and lower electricity bills.
At a typical idle draw of around 15 W, a mini PC consumes roughly 131 kWh per year. At the current Ofgem price cap of approximately 24.5p/kWh, that works out to about £32 per year — less than your Netflix subscription, and a fraction of what a tower server would cost running in the loft.
The Best Mini PCs for Homelab
The best mini PC for your homelab isn’t automatically the most expensive. It’s the one that matches your expansion plans. A setup that only runs containers today may need several VMs tomorrow. Conversely, a high-end system is overkill if it ultimately just manages DNS and smart-home automation.
A three-tier approach helps manage expectations and plan budgets realistically.
Starter Homelab: GEEKOM A6

The GEEKOM A6 strikes the right balance for anyone building their first homelab. Powered by an AMD Ryzen™ 7 6800H, it ships with 16 GB DDR5 RAM and a 1 TB SSD — enough to install Proxmox, spin up your first VMs and run a handful of containers alongside. Crucially, the A6 uses socketed DDR5 rather than soldered LPDDR, meaning you can upgrade to 64 GB RAM and up to 3 TB of storage as your needs grow.
At this tier, it’s not about raw core count but about getting the platform fundamentals right: reliable cooling, decent network connectivity, sensible storage options and a chassis that won’t drive you round the bend after months of continuous use. The A6 ticks all those boxes — compact, quiet and energy-efficient.
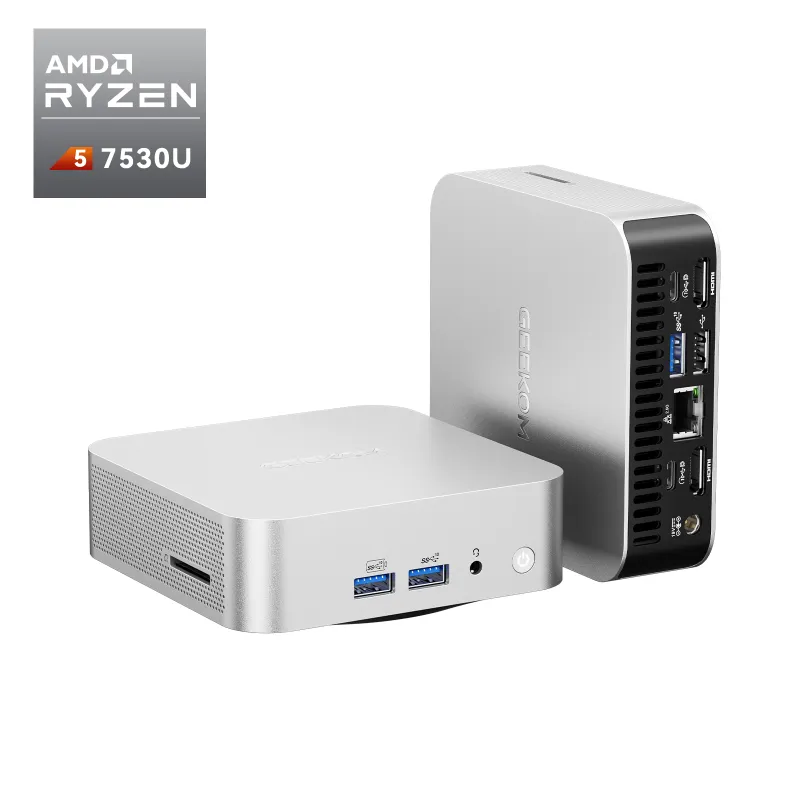
All-Rounder: GEEKOM A8
The GEEKOM A8 comes into its own when you’re running multiple services that generate concurrent load. Picture a media server transcoding a film whilst a backup runs in the background and another VM installs updates. With the AMD Ryzen 7 8745HS, up to 64 GB DDR5-5600 RAM and a PCIe 4.0 NVMe SSD up to 2 TB, the A8 handles these overlapping demands without breaking a sweat.
32 to 64 GB of RAM is realistic at this tier. The PCIe 4.0 SSD ensures that I/O-intensive workloads — database operations, VM snapshots — run smoothly. The 2.5GbE port is standard; for those wanting to segment networks cleanly, the flexible USB connectivity supports external network adapters.
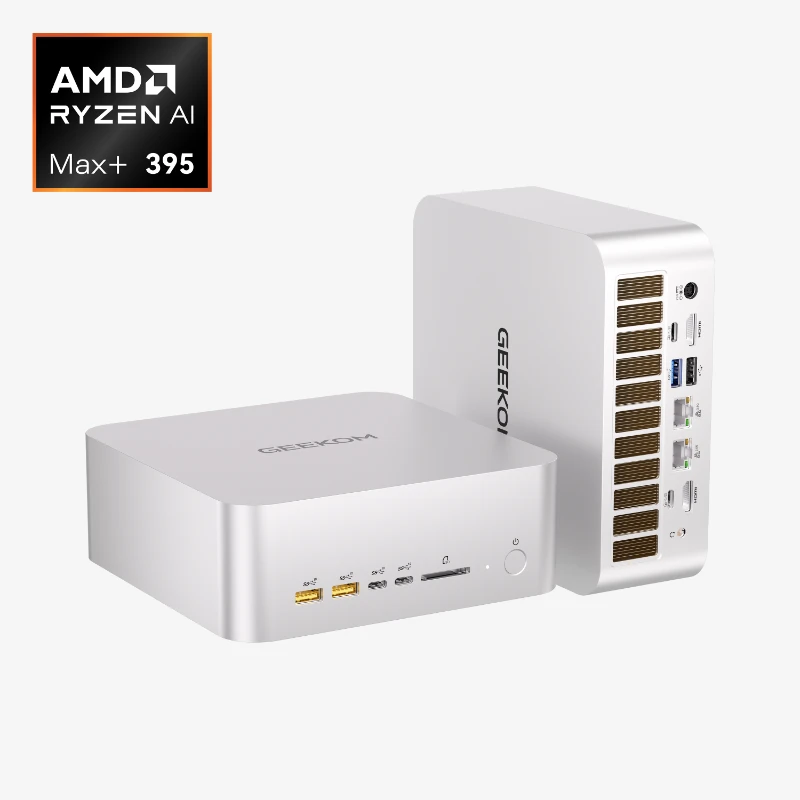
Professional Lab: GEEKOM A9 Max

The GEEKOM A9 Max is the right choice when your homelab operates more like a small production environment. Armed with the AMD Ryzen™ AI 9 HX 370, support for up to 128 GB dual-channel DDR5 RAM and two M.2 PCIe 4.0 slots offering up to 8 TB of total SSD capacity, it’s built for test clusters, Kubernetes labs and setups with many parallel VMs running data-heavy applications.
Whilst no mini PC matches the expandability of a full rack server, several working in tandem can be remarkably capable. Many in the UK homelab community prefer a small cluster of two or three GEEKOM A9 Max units to a single large system. This improves maintainability and fault tolerance — though it does demand more network planning, which the A9 Max supports with dual 2.5G LAN, enabling proper segmentation straight out of the box.
Mini PC Homelab Comparison at a Glance
| Tier | Typical Use Cases | Recommended Specification | Recommended Model | Starting From |
|---|---|---|---|---|
| Entry-Level | Smart home services, containers, initial virtual machines | 6–8 cores, 16–32 GB RAM, 1 NVMe, 2.5GbE | GEEKOM A6 | £589 |
| Mid-Range | Multiple virtual machines, Nextcloud, media server | 8–12 cores, 32–64 GB RAM, dual drives, 2.5GbE | GEEKOM A8 | £669 |
| High-End | Cluster environments, numerous VMs, database workloads | 12+ cores, 64 GB+ RAM, multiple drives, dual LAN | GEEKOM A9 Max | £1,099 |
Homelab Software: Proxmox, Docker & Co.
Software determines how comfortable your homelab is to live with day to day. Most homelabs combine virtualisation and containerisation — not as an either/or, but as a practical partnership: VMs for complete operating systems, containers for services that can run lightweight.
Proxmox VE: Virtualisation for Beginners
Proxmox VE is popular in the homelab community because it brings virtualisation and management together under one roof. It uses KVM for full virtual machines and LXC for containers, all managed through a tidy web interface. The setup is refreshingly pragmatic: clear roles for storage and networking, integrated backups and a sensible permissions model.
For beginners, the key benefit is structure. Proxmox teaches you to allocate resources properly, use snapshots, clone VMs and manage updates in a controlled fashion. When you’re ready to build a cluster, the tooling is already there.
Docker & Containers: Flexible Service Management
Docker is often the fastest route to running services reliably in a home lab. Containers are reproducible, easy to update and straightforward to roll back when something goes pear-shaped. This reduces chaos considerably, particularly when you’re juggling a dozen small tools in parallel.
A common approach is to run Docker either inside a Proxmox VM or directly on a Linux host. Both are perfectly valid. The VM approach offers stronger isolation; running natively on the host gives better performance with less overhead. Which you choose depends on what you’re testing and how much maintenance you’re willing to take on.
Pair Docker with Portainer for a graphical management interface — particularly handy when you’d rather not live in the terminal for every minor change.
TrueNAS, Home Assistant & Portainer
TrueNAS is the go-to choice when storage takes centre stage. Built on ZFS, it offers features well beyond simple file shares: snapshots, replication, granular permissions and robust data integrity checking. For anyone serious about their data, it provides a rock-solid foundation.
Home Assistant, meanwhile, is the natural hub for smart-home control. Its great strength is local operation — your devices respond to automations running on your own network, with no reliance on cloud services that might raise latency, suffer outages, or simply cease to exist. For many people, this independence is precisely why they built a homelab in the first place.
Click to read more about Mini PC as NAS: How to Build a Faster, Cheaper Home Server in 2026
Setting Up Your Homelab: From Hardware to Software
A homelab rarely fails because of a missing click. It fails because of the boring bits people skip at the start: BIOS settings, storage layout, backup strategy, network segmentation. Get those right and everything else falls into place.
Setting Up Your Homelab –
From Hardware to Your First VM
Three steps to a stable, well-structured mini PC homelab
Before installing anything, pop into the BIOS and check a few essentials. It takes five minutes and saves hours of head-scratching later:
Proxmox installs from a USB stick in under ten minutes. After the first boot, configure your network, hostname and storage – then follow this tried-and-tested approach:
Plan your network from day one. Backups are often underestimated. And the most common mistakes can be avoided with surprisingly little effort:
Cost & Data Privacy: Why a Homelab Is Worth It
Homelabs cost money — not just to buy, but to run. At the same time, they can replace cloud subscriptions, reduce your reliance on third-party services and give you genuine control over your personal data. The question isn’t whether a homelab pays for itself immediately, but whether it makes sense for your particular usage.
ROI: Homelab vs Cloud Services
A rough return-on-investment calculation needn’t be precise. It simply needs to show where the orders of magnitude lie.
Example: A mini PC costs £500–£700. Average power draw is perhaps 15–25 W; let’s take 20 W as a reasonable middle ground. That’s 0.02 kW. Per anno: 0.02 × 24 × 365 = 175 kWh. At Ofgem’s current price cap of approximately 24.5p/kWh, that’s around £43 per year.
By contrast, several small cloud instances, storage subscriptions or hosted services can easily exceed £20 per month (£240/year). At £40 per month, you’re looking at £480 annually. Depending on usage, the homelab amortises in two to three years — sometimes sooner.
Homelab vs Cloud: Cost Comparison (GBP)
| Category | Cloud | Homelab |
|---|---|---|
| Upfront cost | £0 | £500–£700 |
| Monthly running cost | £15–£40 | Electricity £3–£8 |
| Total after 2 years | £360–£960 | £572–£892 (inc. electricity) |
| Control over data | Limited | Complete |
Note: Electricity costs calculated using the Ofgem Q1 2026 price cap (~24.5p/kWh). Actual costs depend on your tariff and usage patterns. Figures are deliberately conservative.
Data Privacy: Full Control Over Your Data
Data sovereignty is the benefit that can’t be measured in pounds and pence. With your own homelab, sensitive information — family photographs, financial documents, smart-home logs, passwords — need never leave your network. You decide who has access, how backups are stored and when updates are applied.
Under UK GDPR, you remain the data controller when data stays on your own systems. There are no third-party processors to audit, no international data transfers to worry about and no terms of service that might change overnight. For many in the British homelab community, this peace of mind is the real motivation to self-host — not merely the cost savings.
Frequently Asked Questions
Which mini PC is best for homelab beginners?
Look for at least 16–32 GB of RAM, an NVMe SSD and a 2.5GbE port. That’s enough to run Proxmox, Docker and a handful of typical services without immediately hitting a wall. If you already know you’ll want multiple VMs, start with 32 GB — upgrading RAM later is cheaper than buying frustration now.
How much does a mini PC homelab cost to run in the UK?
Most setups draw between 10 and 25 W at idle. At the current Ofgem-capped rate of roughly 24.5p/kWh, a 15 W system costs about £32 per year. Under heavier load, expect proportionally more — but still a fraction of what a traditional server would consume.
Can I cluster multiple mini PCs together?
Absolutely. Proxmox supports clustering natively, and lightweight Kubernetes distributions like K3s work beautifully across multiple nodes. A cluster is particularly worthwhile if you want to test failover or separate workloads. It does require more network planning, consistent DNS and a coherent backup strategy, but the UK homelab community has well-trodden paths here — the r/homelab subreddit and ServeTheHome forums are excellent starting points.
What operating system should I use?
For virtualisation, Proxmox VE is the most popular choice — it combines KVM and LXC under one roof. For storage-centric builds, TrueNAS is excellent, particularly if ZFS and NAS features are your priority. Docker runs on any Linux distribution or inside a Proxmox VM. Most homelabbers end up using a mix of all three, which is entirely sensible and arguably the most flexible approach.
Conclusion: The Right Mini PC for Your Homelab Project
In 2026, a mini PC represents a thoroughly realistic server platform for the home, compact, quiet and efficient. With sufficient RAM, fast NVMe storage and 2.5GbE networking, virtualisation, containers and storage services all run reliably. What matters is not the most impressive spec sheet, but a coherent setup that aligns with your actual goals.
If you’re starting small, plan headroom in RAM and storage options. If you’re thinking big, consider network architecture, backup strategy and potentially a cluster from the outset. With a solid hardware foundation and a well-chosen software stack, a humble mini PC becomes a home server that isn’t merely experimental — it’s built to last.