


What is Ubuntu?
Ubuntu is an open source Linux operating system based on Debian. It is one of the most popular Linux distributions, but there are some differences between the two: Ubuntu is an operating system based on the Linux kernel, so Ubuntu is actually a distribution of the Linux system. Linux is the kernel, and Ubuntu is a complete operating system built on the Linux kernel, including user interfaces, applications, package management tools, etc. How to download the Ubuntu system is a problem that bothers most users, so we have prepared a specific method to install Ubuntu. The specific method is as follows.
How to find Ubuntu version?
Open this link in your browser and you can find the version you need. After finding it, prepare a USB drive and download the Ubuntu system image.
The links are as follows: https://ubuntu.com/download/desktop?utm_expid=.t_P3dGHLTjiXbkBPgMHsUw.0&utm_referrer=
Install Ubuntu’s necessary tools
After downloading the system you need to your USB drive, we also need a tool:
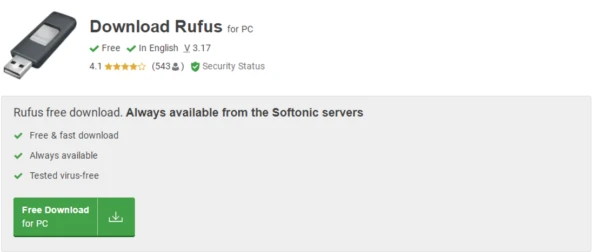
Download address: https://rufus.en.softonic.com/download
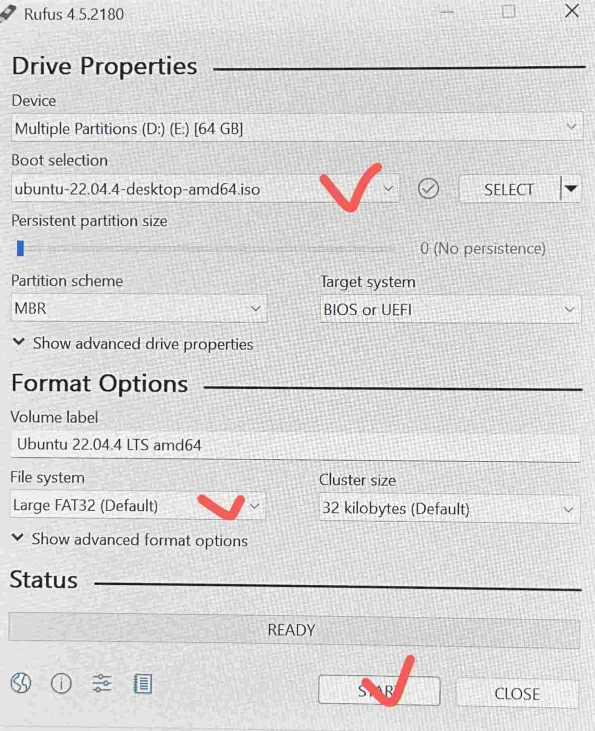
Insert the USB Drive into the Computer and Open the Tool
- Select the image to be deployed on the required USB drive
- Select the downloaded ubuntu-24.04-desktop-amd64 (1).iso image file
- Select the default FAT32 file system
- Then click Start to deploy
How to Install Ubuntu?
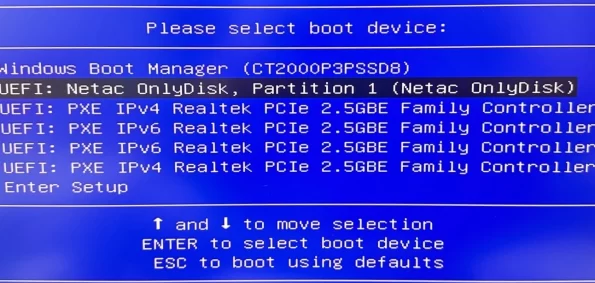
After the above process is completed, we will enter the formal installation phase. Insert the USB drive into the machine where the system is to be installed, press the power button to turn on the machine, and then press F7. When the following page appears, select the USB drive to start the installation.
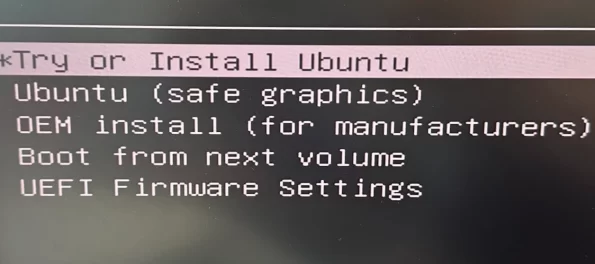
Ubuntu is selected by default
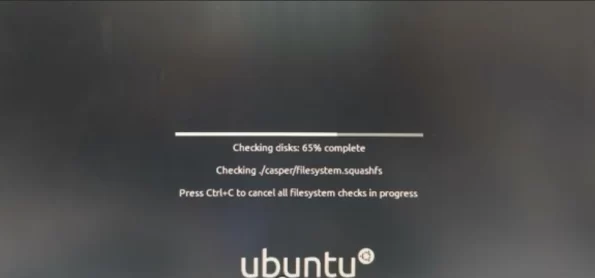
Wait for the loading to complete before proceeding to the next step
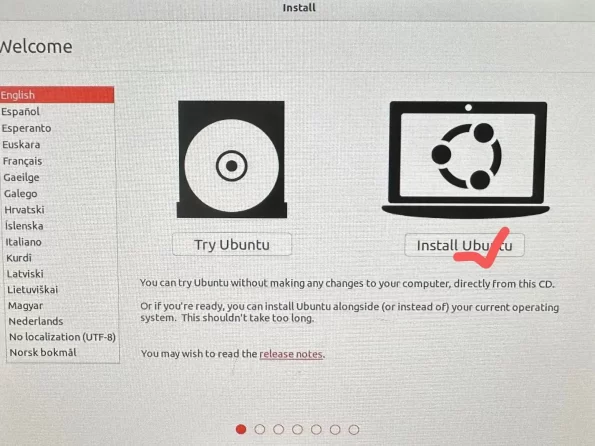
Select the required language, then click install Ubuntu to proceed to the next step

Select the required regional language keyboard and proceed to the next step
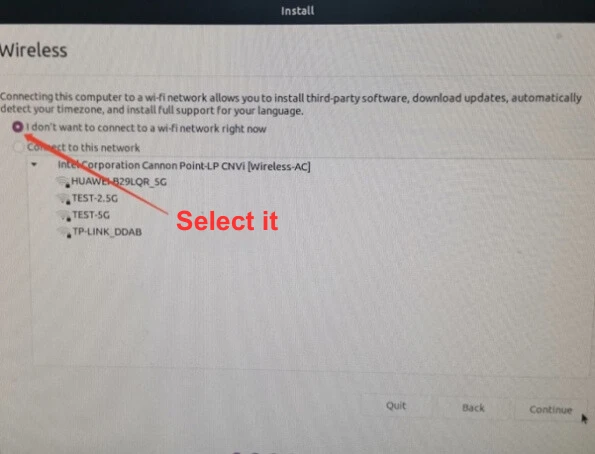
Select Offline and proceed to the next step
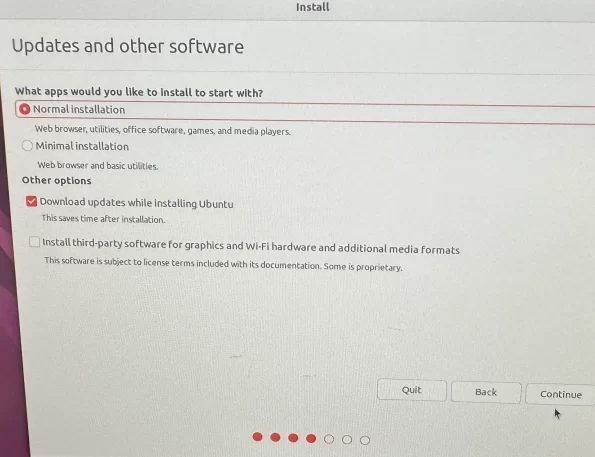
Select normal installation and proceed to the next step
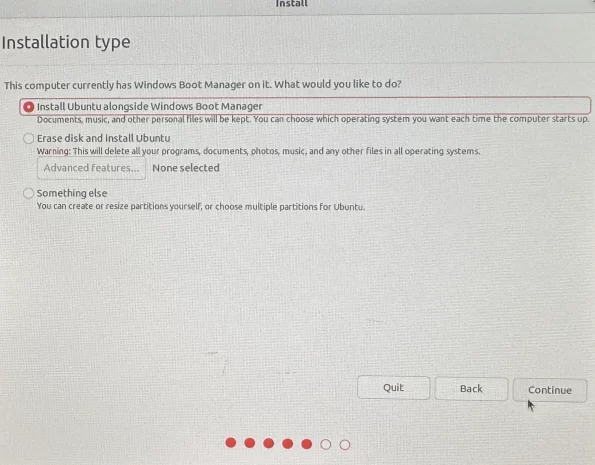
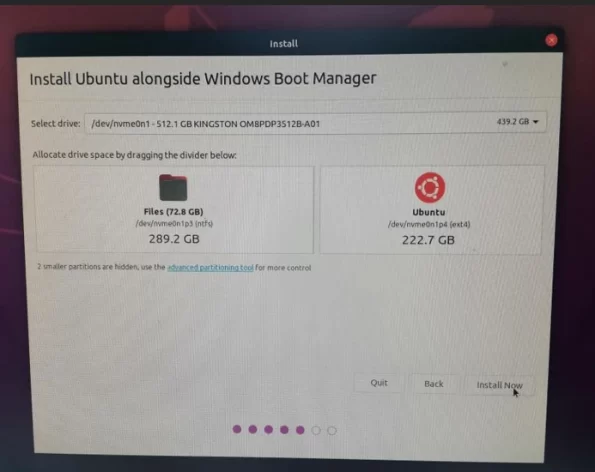
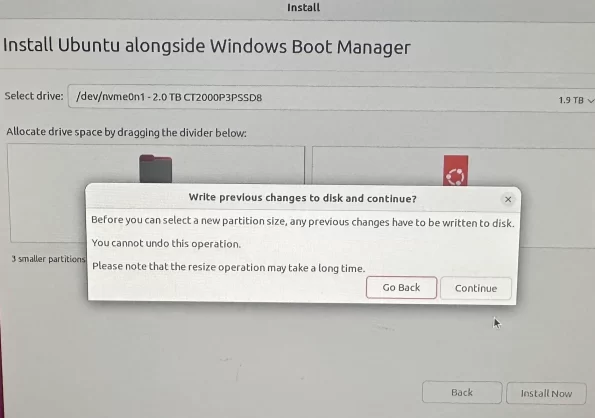
Select Windows Boot Manager to coexist with Ubuntu, then click Continue
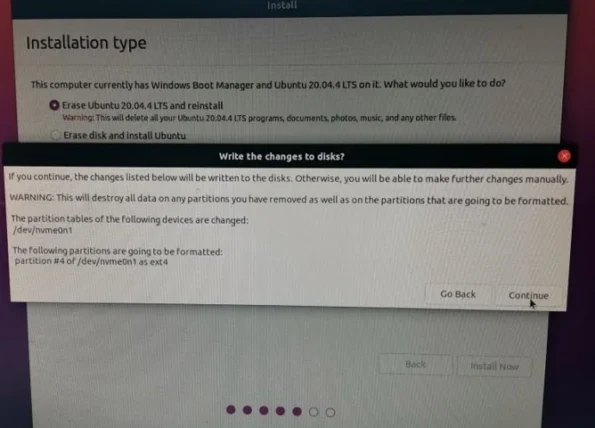
Default installation
Continue to the next step
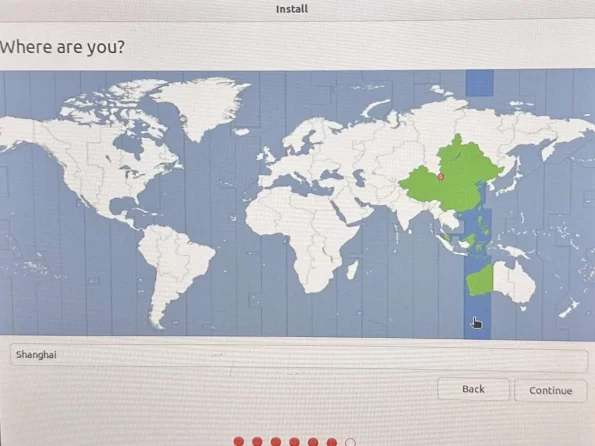
Confirm the region
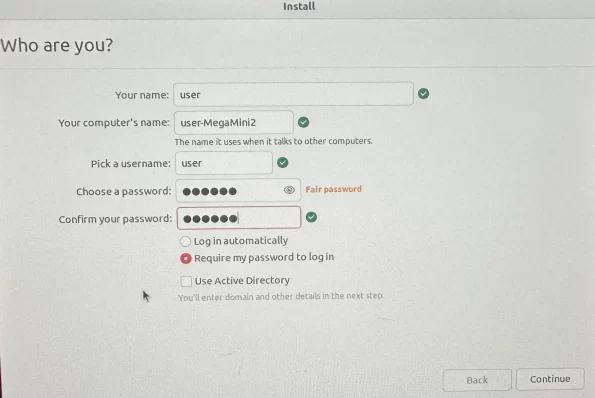
Create a user name and password (you will need to confirm the password when setting it)
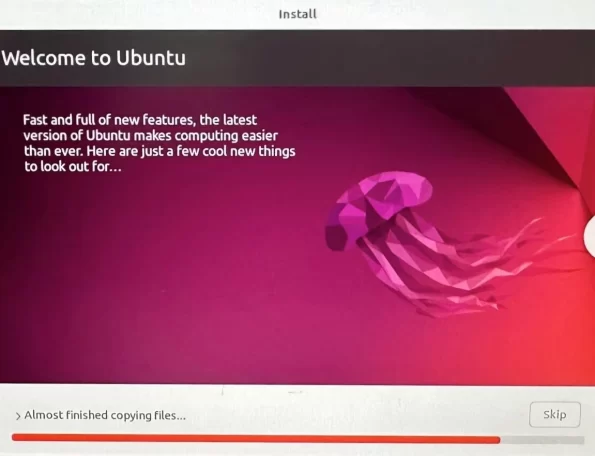
Waiting to load into the system
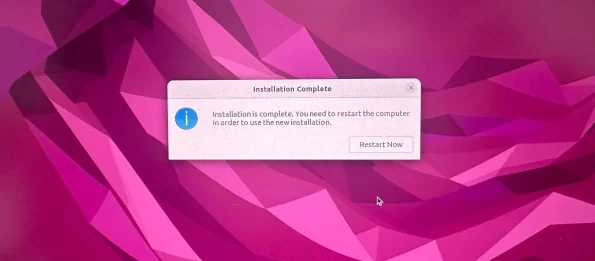
Then restart to complete the installation
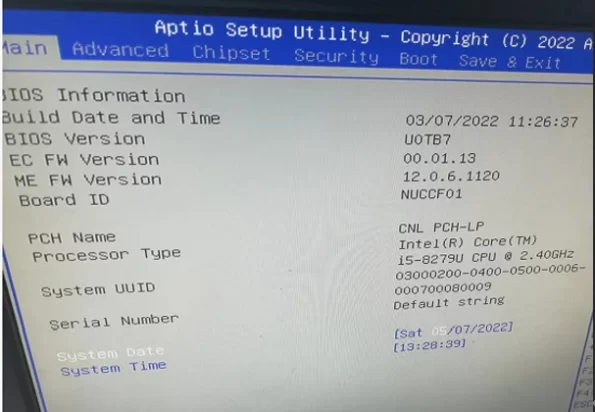
Press “del” on the keyboard to enter the BIOS setup interface
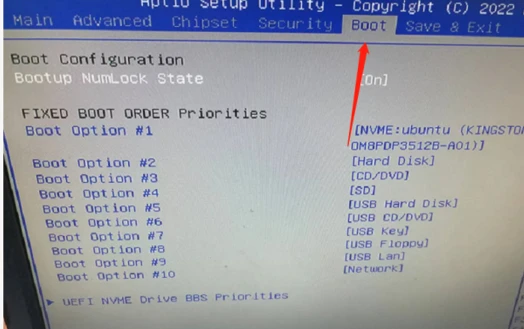
Select the “Boot” option

Select the “UEFI NVME Drive BBS Priorities” option
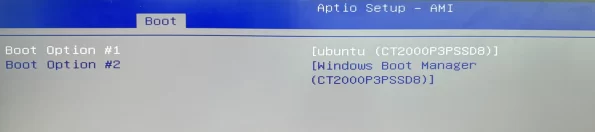
- Set Boot option #1 to “Ubuntu ..”
- Set Boot option #2 to “Windows boot manager..”
- Press “F4” on the keyboard to save and exit to complete the dual system settings.
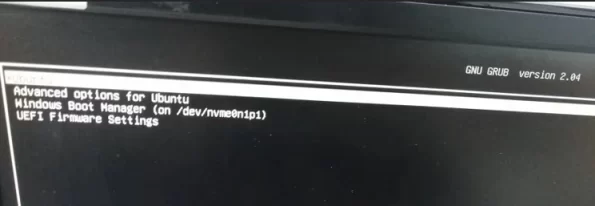
After saving and exiting, the following interface will appear. Select Ubuntu and press Enter to enter the Ubuntu system.
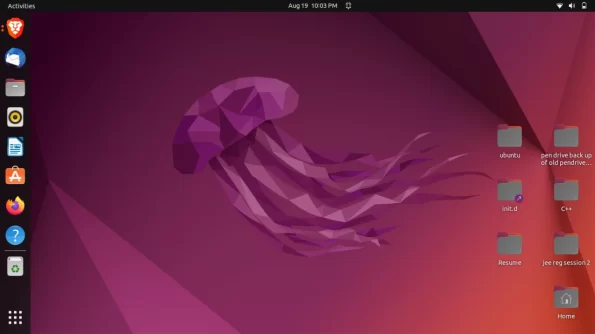
Home page after entering the system
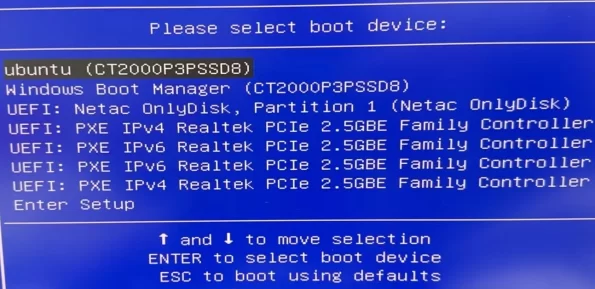
If you want to switch back to Windows system, restart and keep pressing “F7” until the following page appears. Select “Windows boot manage” on the page and press Enter to switch back to Windows system.
Conclusion
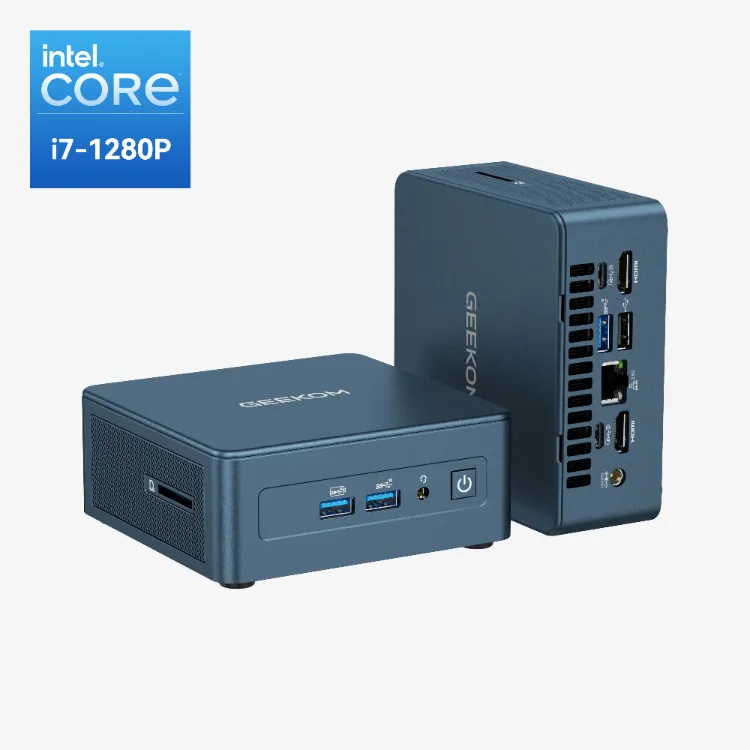
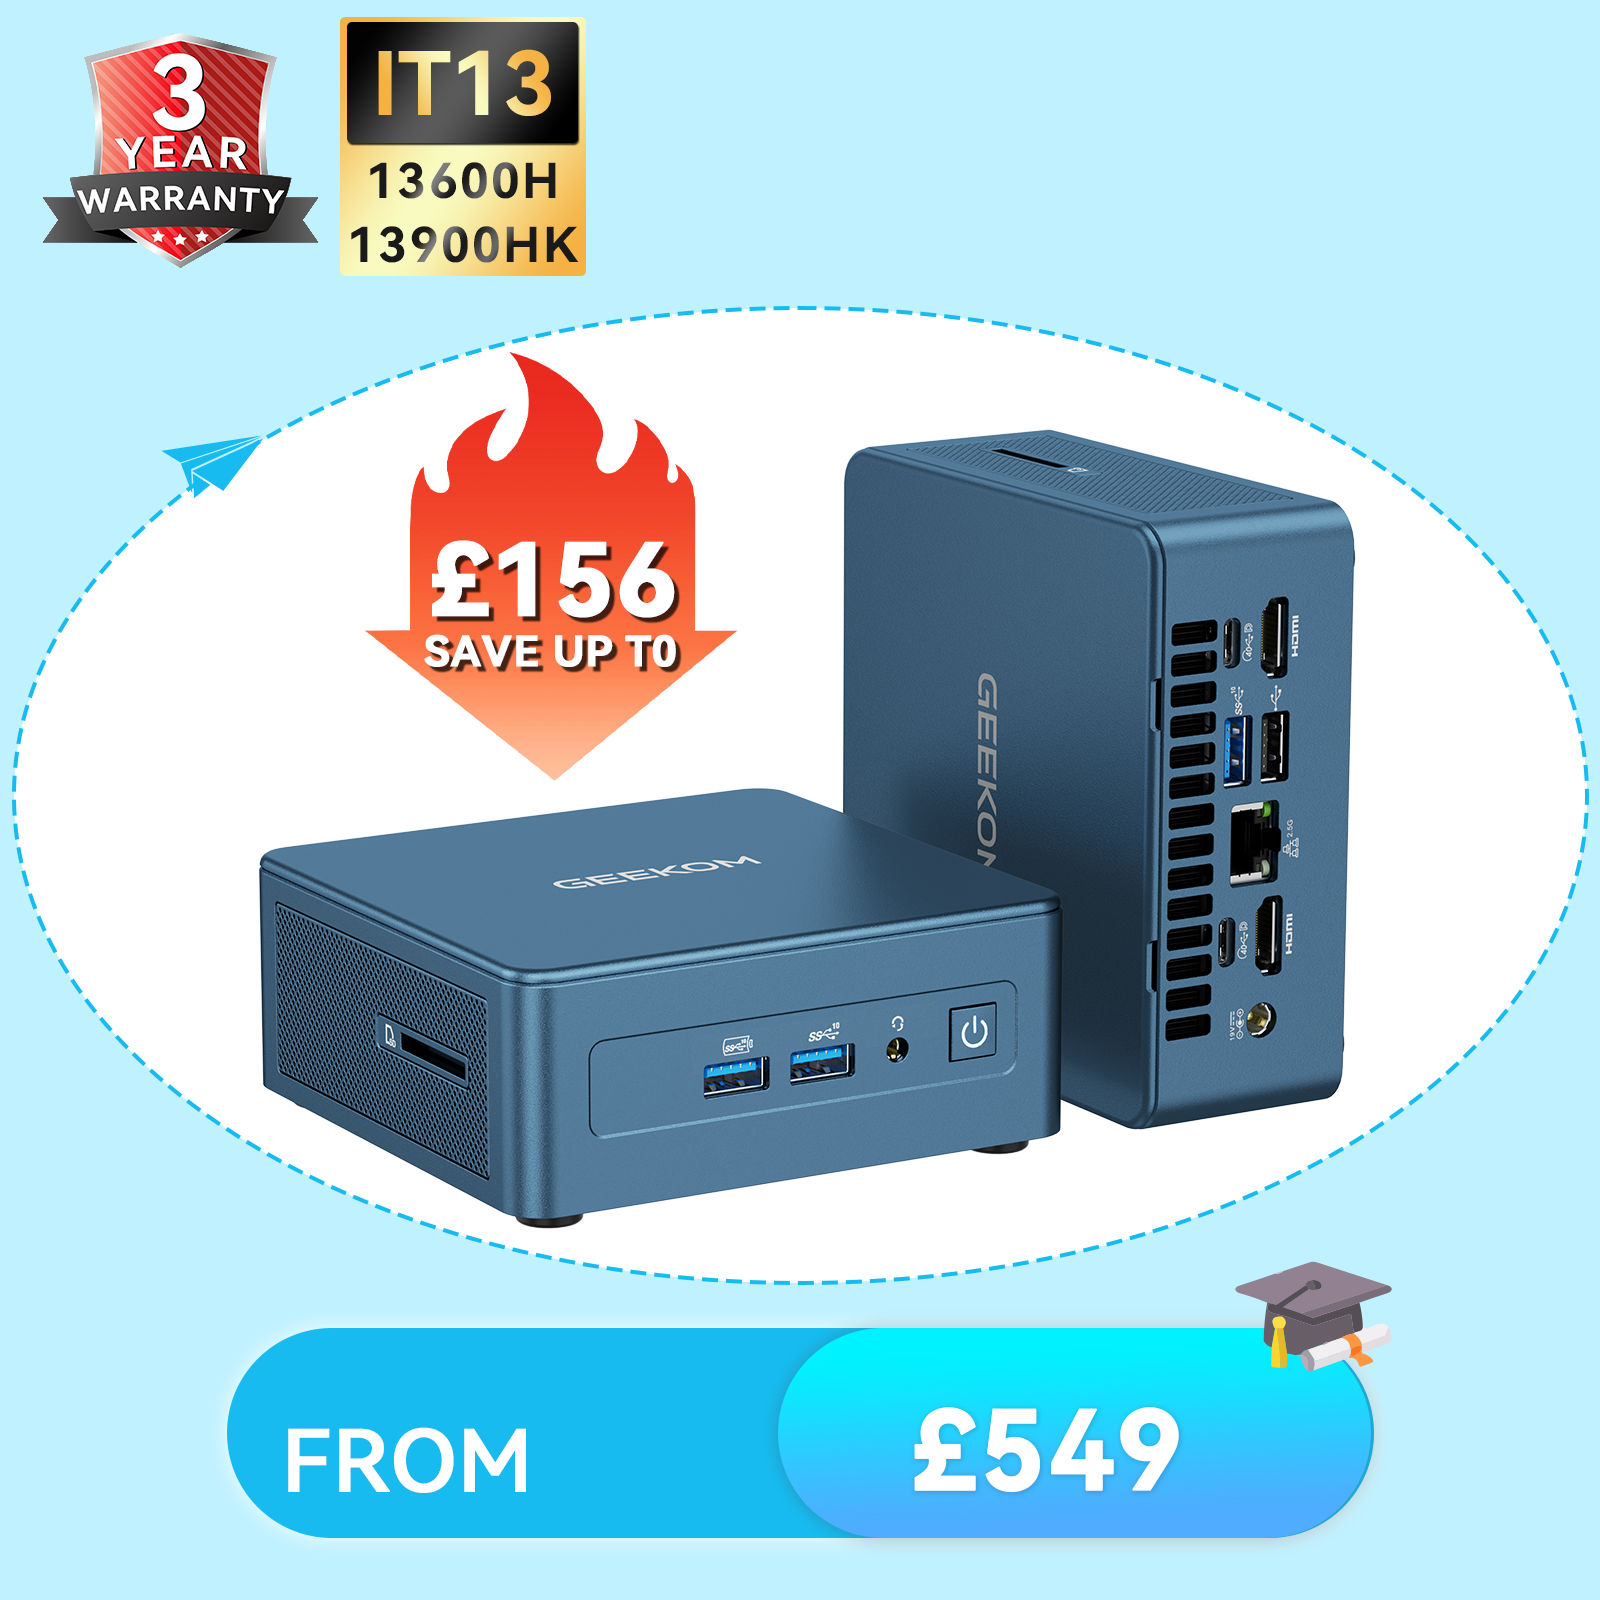
I hope the above methods will be helpful to you when installing the Ubuntu system, and I also hope that it can help you install the Ubuntu system better and faster. If you want to equip a mini PC that is compatible with Windows and Ubuntu systems, GEEKOM is your best choice!